Unlock the Potential of Your Walls: A Comprehensive Guide to Apply Accurate Extensive Textured Wall Finishes
Textured wall finishes have become a popular trend in home design, offering a unique way to add depth, character, and visual interest to any room. Whether you're looking to cover up architectural imperfections, conceal cosmetic blemishes, or simply want to create a stunning focal point, textured wall finishes can help you achieve your desired look. In this article, we'll guide you through the process of applying accurate extensive textured wall finishes, covering the different types, techniques, and tips to ensure a professional finish.
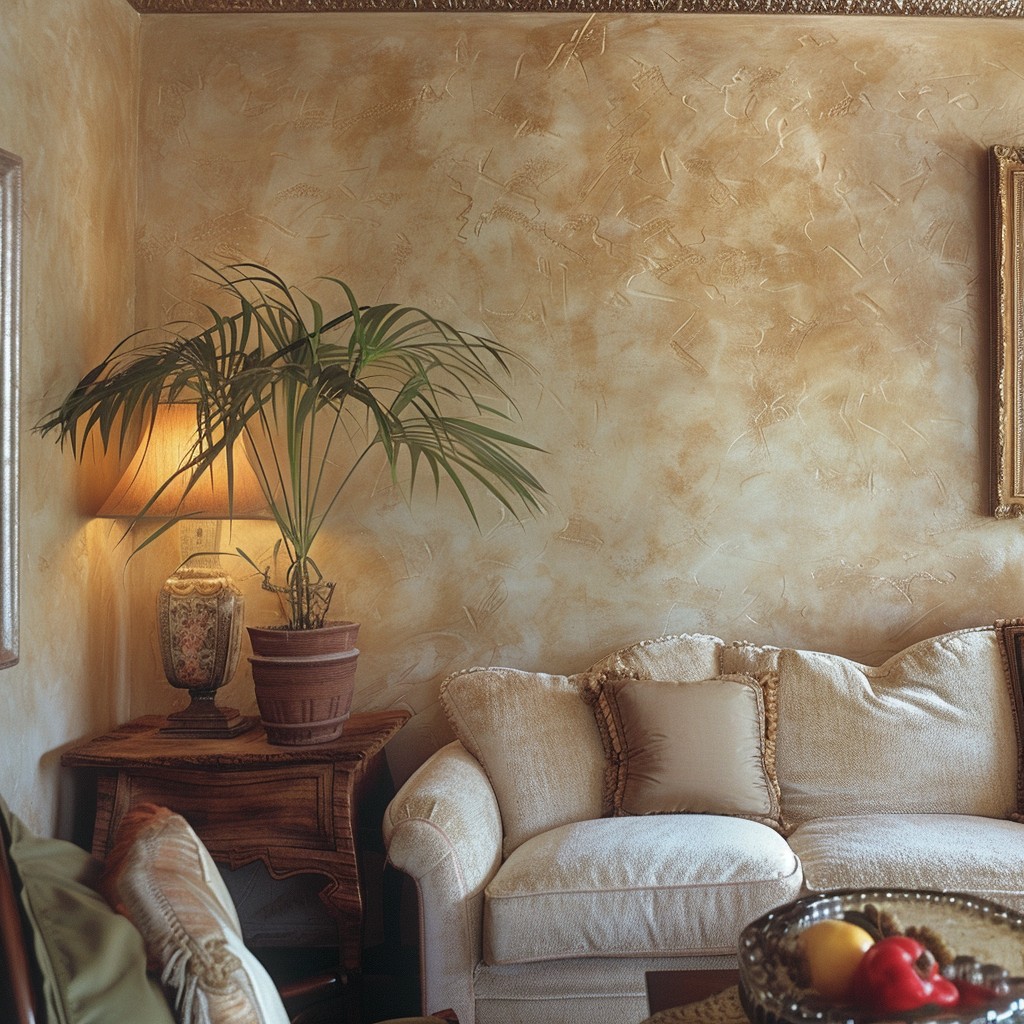
The Importance of Accurate Textured Wall Finishes
Accurate textured wall finishes are essential for achieving a professional and polished look. Unlike smooth surfaces, textured walls present unique challenges when it comes to painting, and the wrong techniques can lead to uneven coverage, a rough finish, and a lack of durability. By following the right steps and using the right materials, you can create a beautiful, long-lasting textured wall finish that enhances the overall aesthetic of your home.
- Knockdown Texture: A popular type of textured finish that involves using a specialized tool to create a smooth, even surface.
- Orange Peel Texture: A textured finish that resembles the surface of an orange peel, created using a combination of paint and aggregate materials.
- Stucco Texture: A textured finish that mimics the look of stucco, often used on exterior walls or accent walls.
- Rustic Texture: A textured finish that adds a rustic, weathered look to walls, often created using a combination of paint and aggregate materials.
Tools and Materials Needed
- Prepare the Wall Surface: Clean the wall surface thoroughly, removing any dirt, grime, or old paint. Sand the surface to create a smooth, even surface.
- Apply Primer (Optional): If using a primer, apply a coat to the wall surface, allowing it to dry completely before proceeding.
- Mix the Textured Paint or Finish: Follow the manufacturer's instructions to mix the textured paint or finish, adding aggregate materials as needed.
- Apply the Textured Finish: Use a texture gun or spray to apply the textured finish to the wall surface, working in sections to maintain even coverage.
- Allow the Finish to Dry: Allow the textured finish to dry completely, following the manufacturer's instructions for drying time.
- Apply a Smooth Coat of Paint: Once the textured finish is dry, apply a smooth coat of paint using brushes or rollers.
- Final Touches: Inspect the wall surface for any imperfections or areas where the textured finish may be uneven. Touch up as needed, and apply a second coat of paint if necessary.
:max_bytes(150000):strip_icc()/thespruce-walltexture-kampeepatisena-92732ac212d84e398312dfdc1ec7d9bd.jpg)
Such details provide a deeper understanding and appreciation for Apply Accurate Extensive Textured Wall Finishes.
Maintenance and Durability
Textured wall finishes can be more challenging to clean than smooth surfaces, so it's essential to choose a texture that is easy to maintain. Consider the durability of the texture, especially if you have pets or young children. Regular cleaning and maintenance can help extend the life of the textured finish and prevent damage.
Conclusion
Applying accurate extensive textured wall finishes can be a rewarding and creative way to enhance the aesthetic of your home. By following the steps outlined in this guide, you can achieve a professional and polished look that adds depth, character, and visual interest to any room. Remember to choose high-quality materials, work in sections, and follow manufacturer's instructions to ensure a beautiful, long-lasting textured wall finish.


:max_bytes(150000):strip_icc()/SPR-hide-flaws-with-stipple-texture-4121027-9f4cff8a020a48ae980050be59a8f14f.jpg "15 Popular Wall Texture Types and Techniques in 2026")


 - Bob Vila")


