Scandinavian Home Renovation Checklist: Transforming Your Space with Timeless Style
Are you ready to embark on a home renovation journey that embodies the essence of Scandinavian design? With its emphasis on minimalism, functionality, and a connection to nature, Scandinavian style has become a popular choice for homeowners seeking a serene and timeless aesthetic. In this comprehensive guide, we'll walk you through a detailed Scandinavian home renovation checklist to ensure your project is both enjoyable and stress-free.Understanding Scandinavian Design
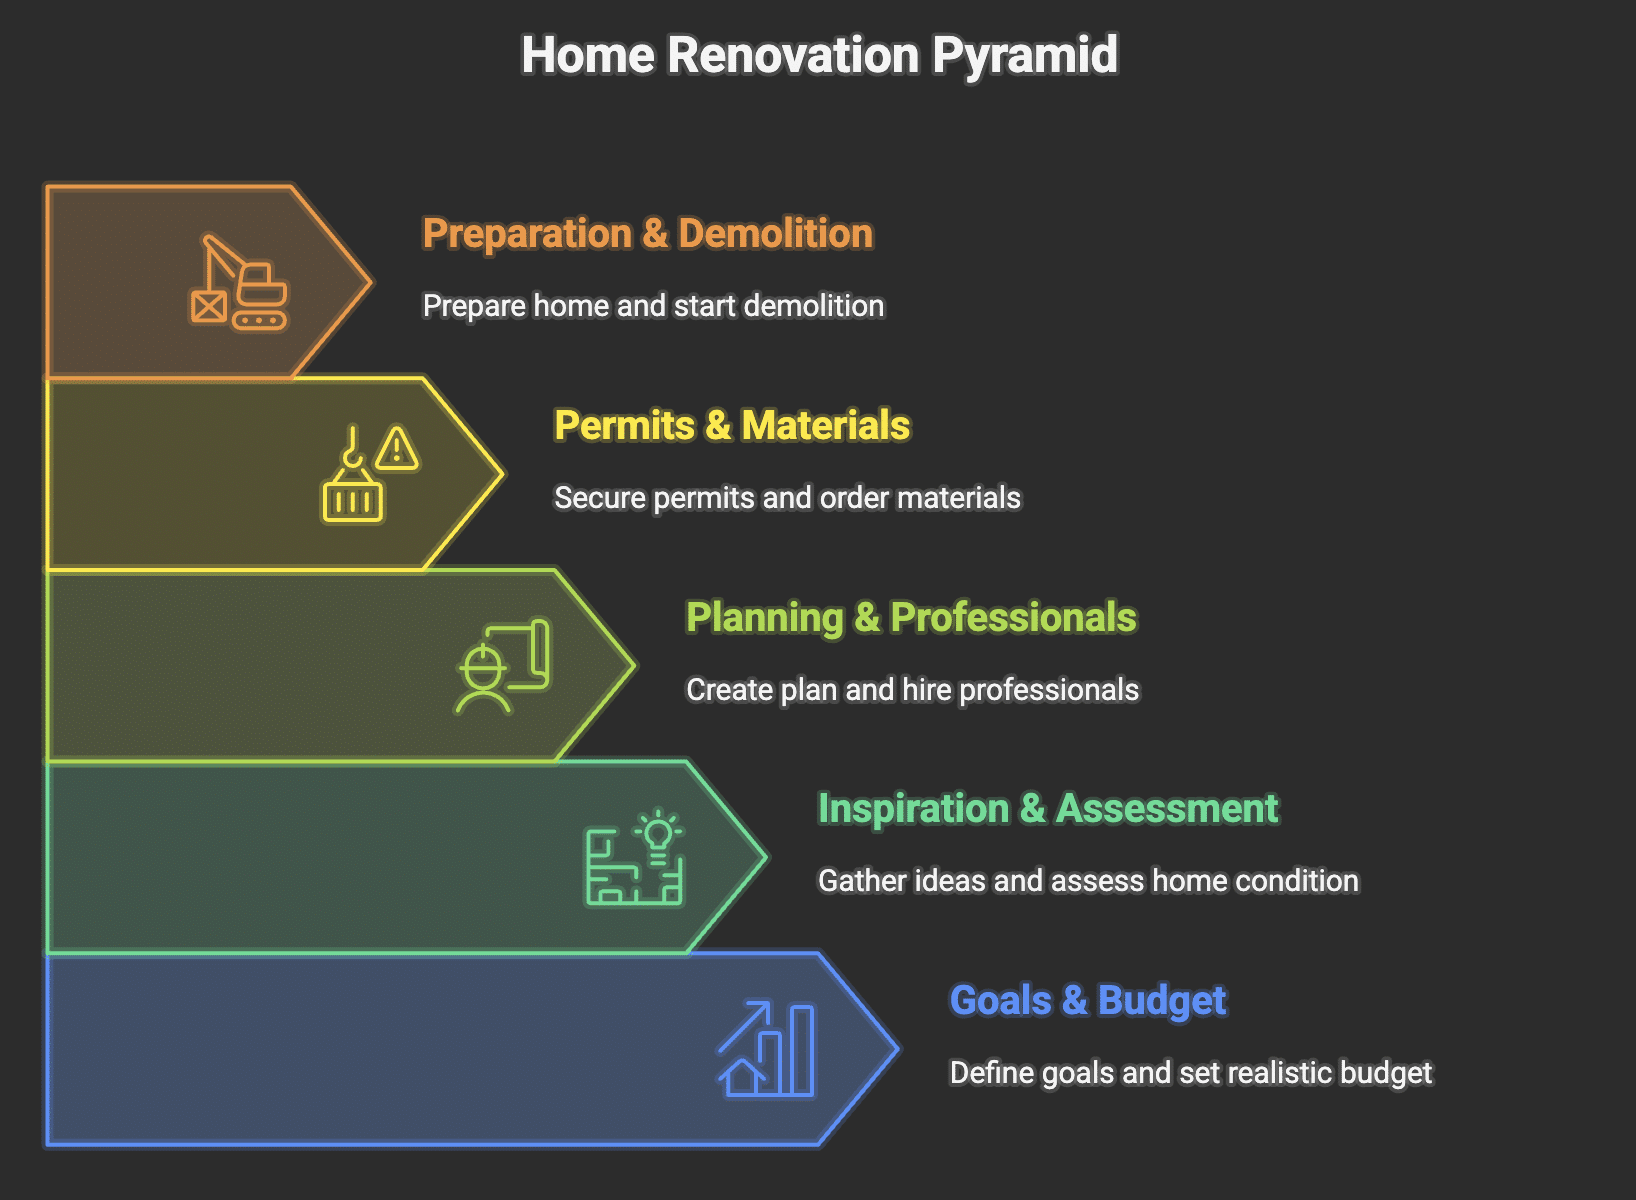
Before diving into the checklist, it's essential to grasp the fundamental principles of Scandinavian design. This style begins with a focus on simplicity, where the absence of clutter and ornate details creates a sense of calm and clarity. Scandinavian homes typically incorporate natural materials such as wood, stone, and leather, alongside a muted color palette featuring whites, blues, and greens. 1.Define Your Budget
Set a realistic budget for your renovation, allocationg 10% to 20% for unexpected expenses. 2.Assess Your Space
Measure your rooms, take photos, and create a layout to visualize your design. 3.Collect Ideas and Inspiration
Gather images, materials, and ideas from design books, magazines, and online resources. 4.Choose a Designer or Architect
Select a professional to help you create a cohesive design and renovation plan.Step 2: Demolition and Disposal (Weeks 5-8)
1.Disconnect Utilities
Shut off electricity, water, and gas supplies to the areas being renovated. 2.Remove Fixtures and Fittings

Dispose of Debris
Properly dispose of demolition waste, recycling what's possible. 4.Clear the Area
Vacate the space to ensure a safe working environment.Step 3: Insulation and Waterproofing (Weeks 9-12)
1.Assess Insulation and Drafts
Evaluate the current insulation levels and address any air leaks. 2.Apply Waterproofing Membranes
Install waterproofing materials to prevent moisture damage. 3.Install New Insulation
Add insulation to walls, floors, and ceilings for optimal energy efficiency. 4.Seal Gaps and Cracks
Fill any gaps and cracks to ensure a smooth finish.Step 4: Electrical and Plumbing (Weeks 13-16)


![Ultimate Guide: Step-by-Step Home Renovation Checklist [Free PDF] - Scandinavian Home Renovation Checklist](https://images.sampletemplates.com/wp-content/uploads/2016/06/14155447/House-Renovation-Checklist-Template.jpg "Ultimate Guide: Step-by-Step Home Renovation Checklist [Free PDF]")


![Picture of Ultimate Home Renovation Checklist [Free Download] | Z & Co.](https://images.bannerbear.com/direct/4mGpW3zwpg0ZK0AxQw/requests/000/073/009/448/w0gWbdEPaYam030JYrVklOA5j/6eec89605d04fb224eec2854cef3a8d0a9838128.jpg "Ultimate Home Renovation Checklist [Free Download] | Z & Co.")


![View of The Ultimate Bathroom Remodel Checklist [Downloadable PDF]](https://www.papercitymag.com/wp-content/uploads/2021/08/DAL_Renovation-Checklist_2108_V2_Page_12-scaled.jpg "The Ultimate Bathroom Remodel Checklist [Downloadable PDF]")


 - Edward George")


